

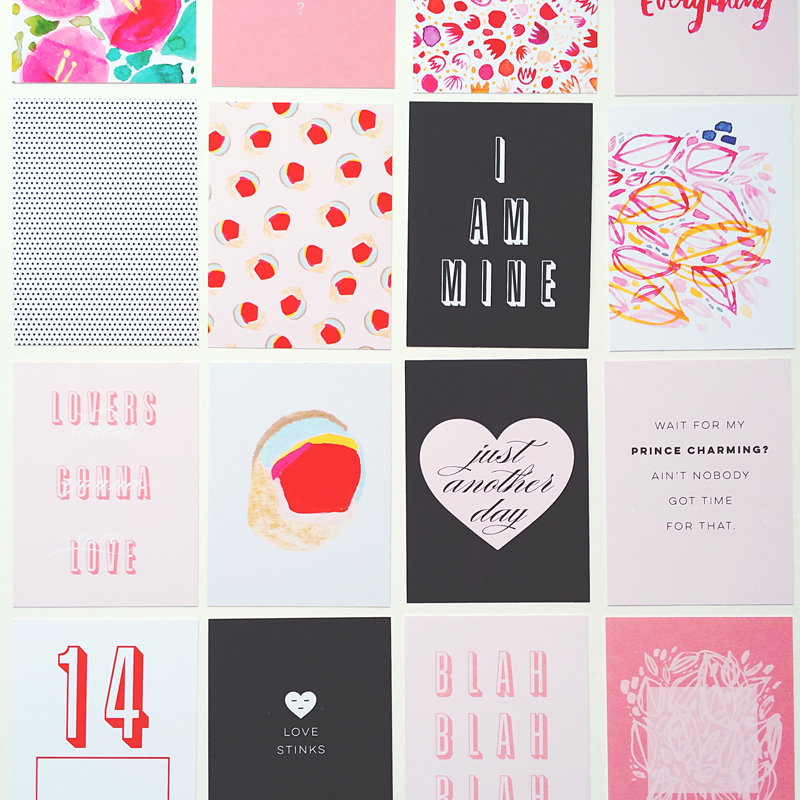
Finally! New stuff! And what's great about it is it's all digital so you can download and use right away!
I've had a few questions on how I print my cards and that some don't get such great results when printing from home. It all depends on your printer, settings and paper. You also have the option of using a professional printer such as Persnikety Prints.
I use a Canon MG6320 printer which I've loved since day 1. I had an Epson before and loved it as well.
Matte photo paper is my favorite. I've tried printing on several different cardstocks and the color in never as vibrant as the photo paper. I've used both Epson and Office Depot brand of matte photo paper. The ones printed above is the Office Max brand.
Here's a little run down of how I open and set up my print job at home.

I've used Preview to print for years. It's my go to. I know there are probably better ways to print but this has always worked for me.
From the Preview option, choose Quality & Media. Set the Print Quality to High. Whether you're using Gloss or Matte photo paper, make sure you choose the correct Media Type.
When I forget to set the quality from standard to high, my prints always come out with streaks.
Hope this helps some of you! Have a happy weekend
Tina


 The holidays and pretty bokeh go hand in hand, no? I think I take at least a dozen bokeh shots in a week but it's fun to mix it up and add some shapes to those lights. I've provided a few free cut files for you to try. If you don't have an electronic cutting machine like a


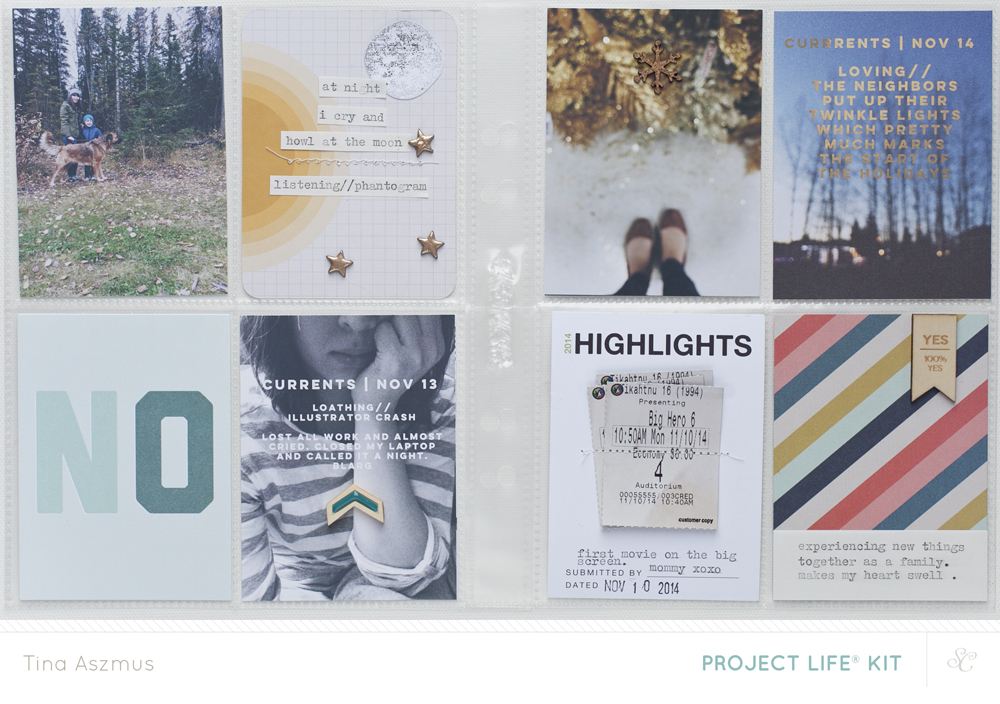
 This marks the "get my sh*t together for the long winter" rush. I'm out and about trying to find the perfect jacket and boots when really I should be getting my snow tires on. My priorities seem to be off at times people, I'm fully aware of this. At least I've got the kiddo's winter gear, that was simple. They make such cute stuff for little people.
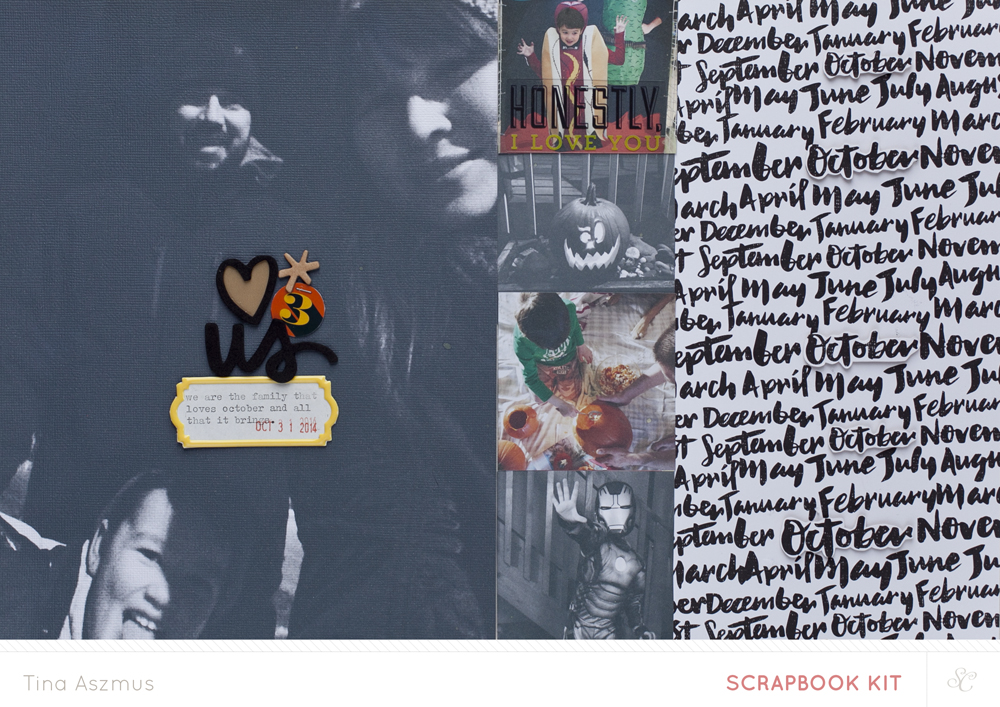
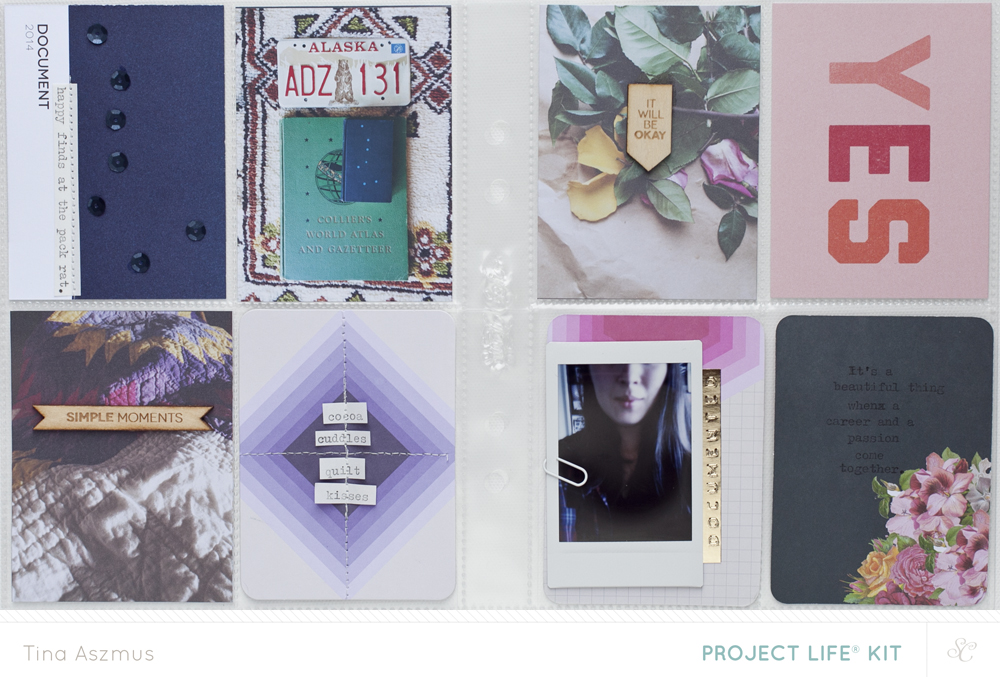
 My PL is boring compared to what I see out there and I'm totally fine with that. I lost site of what this project was suppose to be about and now I've simplified it even further. I just grab a precut card, staple a journal spot, sometimes date it and insert it in a pocket. Done. Then I print photos at the end of the week and insert those. I'm not going to worry about exact dates or completing full weeks. I'm still pondering on doing this for 2013. If I do, it'll definitely be smaller. I'm not into this huge 12x12 binder. I need something more portable like the new SC Handbook.