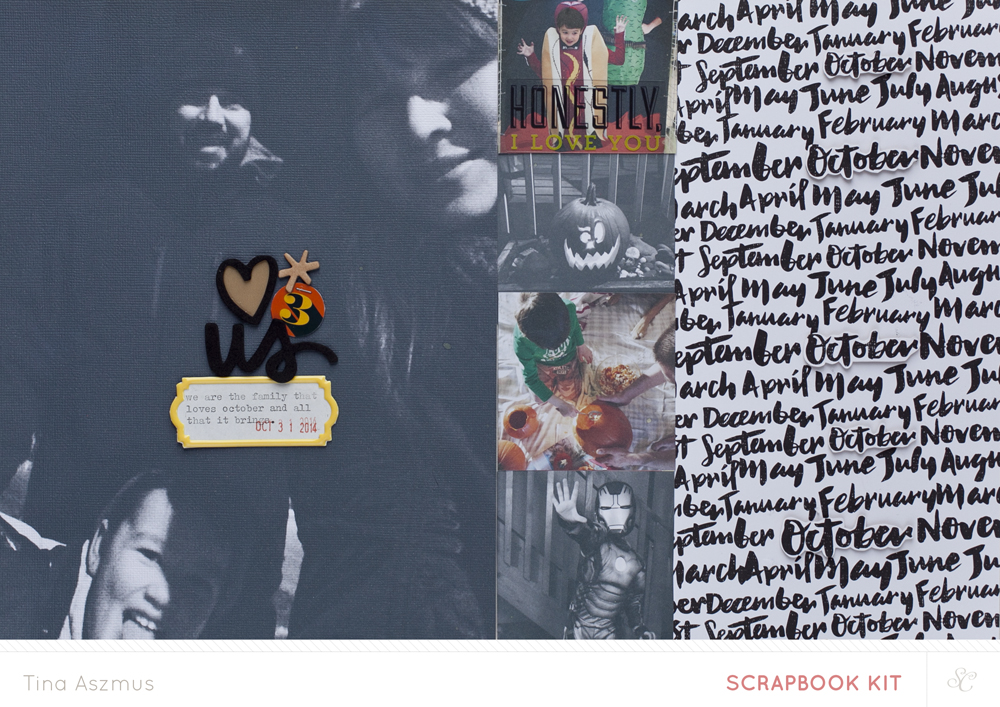
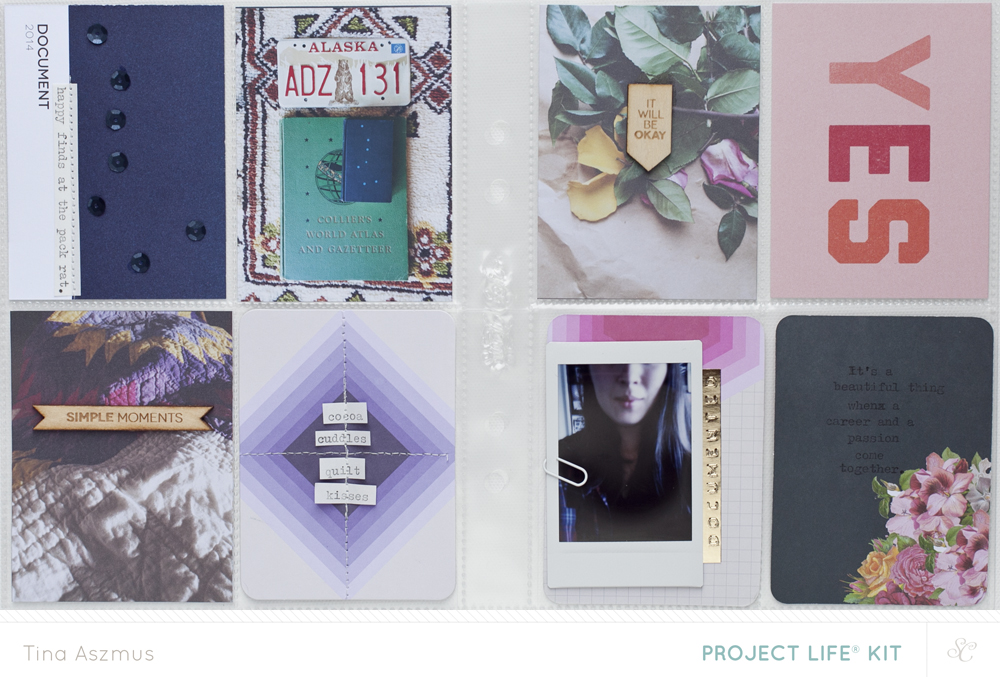
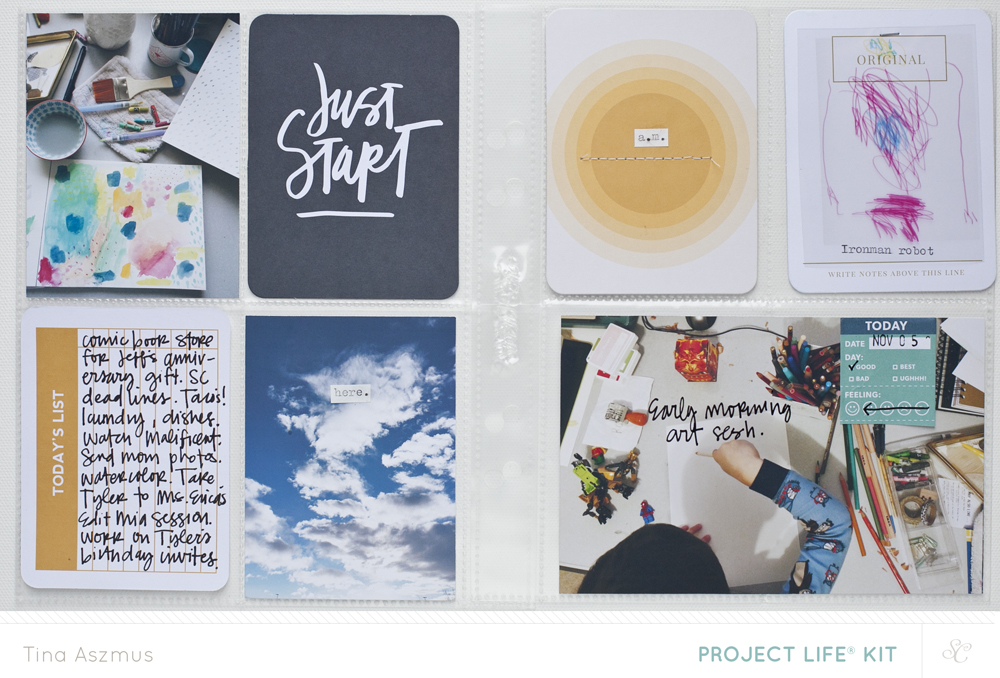
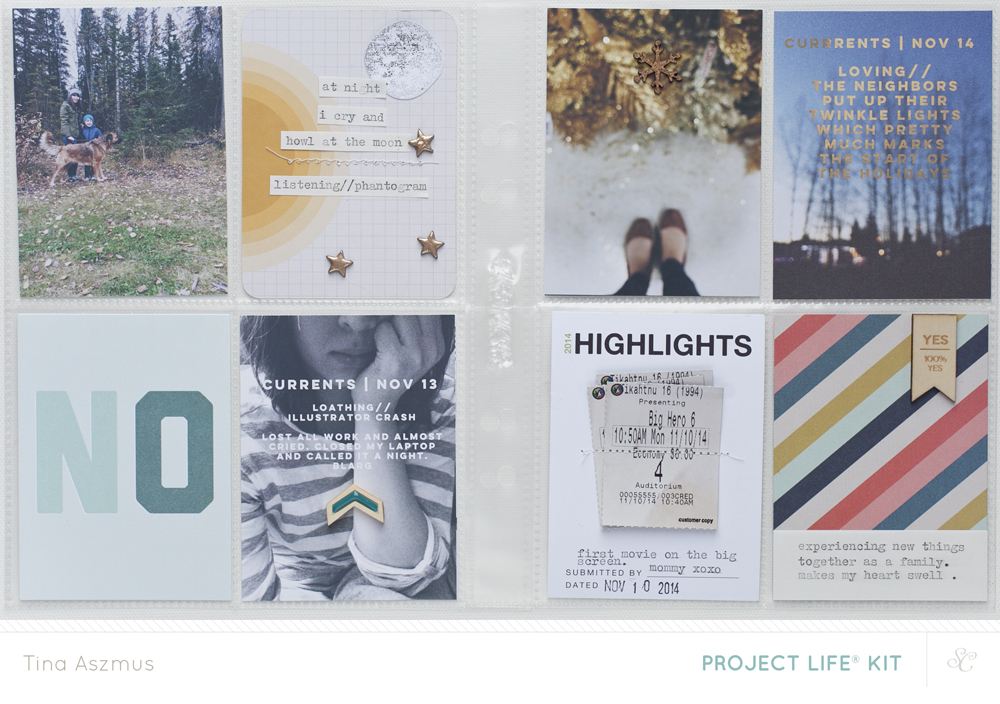
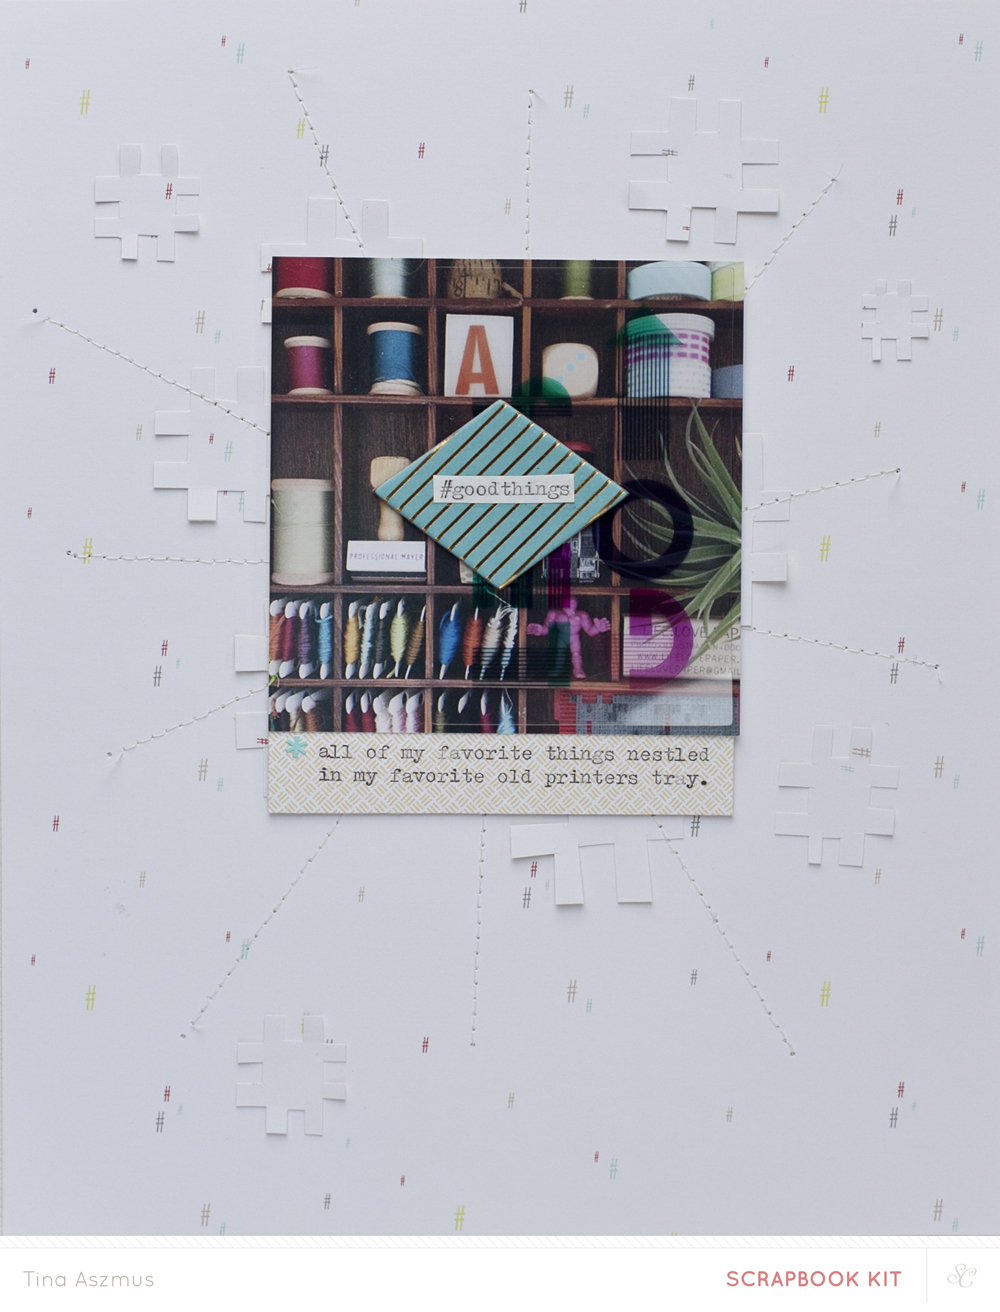
You may have seen the announcement of the new Studio Calico Creative Team on the blog. A few new faces mixed in with returning designers. I'm happy to see some of my favorite paper crafters on the team. You'll also notice a list of contributing designers which is where I'll be for 2015.
What does that mean? More time to explore and create on my own terms. That was the biggest reason I decided to apply for this part of the team. Getting a box of goodies each month and having to create a set amount of layouts sounds like a dream job and it is for the most part but after 7 straight years, a change was necessary.
This is a super positive change and I'm looking forward to having more time to invest in taking some classes and finishing a few projects for the LLP shop . I really want to take this year to polish up my skills as a working artist/illustrator/graphic designer.
Yay for change!
Okay so I wanted to do a quick tutorial on how I added gold foil digitally onto a photo.
First, you'll need a nice gold foil image. The image I'm using can be found here along with some other gold textures.
.
Easy peasy! Also works great on digital stamps like this one from Studio Calico's .
There is another way to apply gold foil digitally and that's using the clipping mask option in the Layers menu. Bother are simple ways of adding a little shine to your paper crafting.
